

Solar Panel Installation in Hanover: How the Installation Works
Diese Seite ist auch auf Deutsch verfügbar
Artikel auf Deutsch lesen
How exactly does a solar panel installation in Hanover work, from preparation to commissioning? Here we show you step by step how PVPro Solar installs your system, what happens on installation day, what you can prepare and what comes after installation. If you’re looking for prices or want to buy straight away, see solar panel costs or buying a photovoltaic system in Hanover. Request your free, no-obligation quote now.
PVPro Solar GmbH
Bedarf klären · Daten senden · Angebot erhalten
Jetzt Anfrage sendenBedarf klären
Schritt 1
Daten senden
Schritt 2
Angebot erhalten
Schritt 3
How PVPro Solar Installs Your Solar System in Hanover
With us, installation isn’t a single appointment but a fixed process from one source: preparation, roof installation by our own fitters, electrical installation by certified electrical specialists from our team, registration and commissioning. Installation is included in the fixed price of your quote, with no separate bill afterwards.
1. On-Site Visit and Preparation
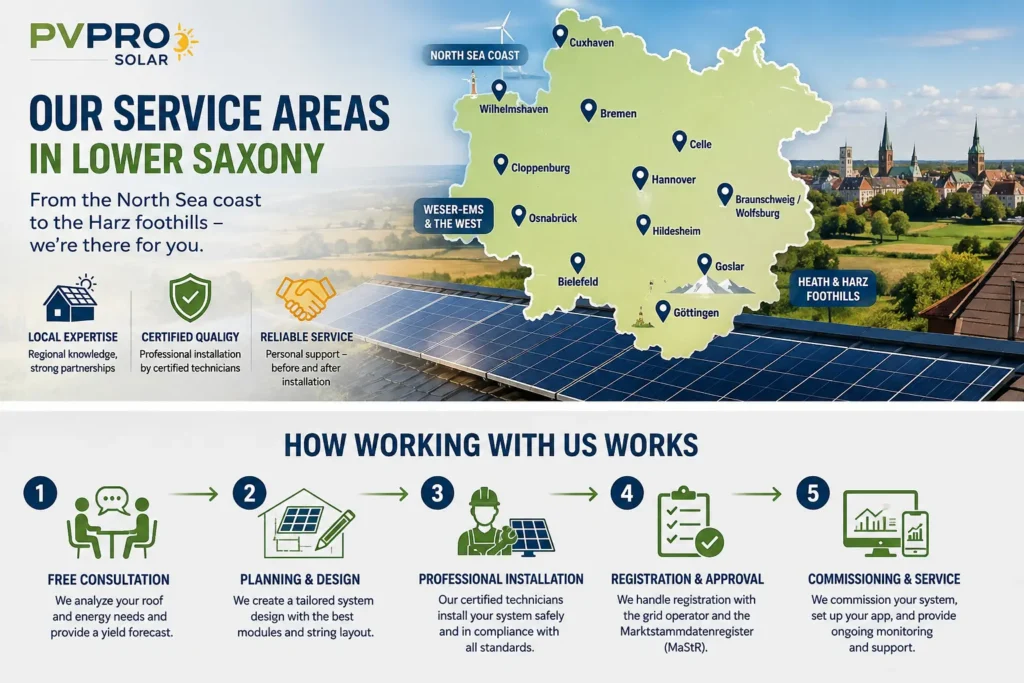
Before the first tradesperson sets foot on your roof, there’s the on-site visit: we check the roof area, orientation, structure and your existing meter cabinet. For terraced and semi-detached houses, we plan the required fire separation distances from the start. At the same time, we clarify registration with your grid operator, which in Hanover is usually enercity Netz and in parts of the region Avacon. Only then do you receive a written fixed-price quote, and we agree the installation date with you.
2. Scaffolding and Roof Safety
Nobody goes onto the roof until fall protection is in place. Depending on the roof shape and access, we put up façade scaffolding or secure individual work positions, always in line with the legal requirements for fall protection.
3. Mounting System
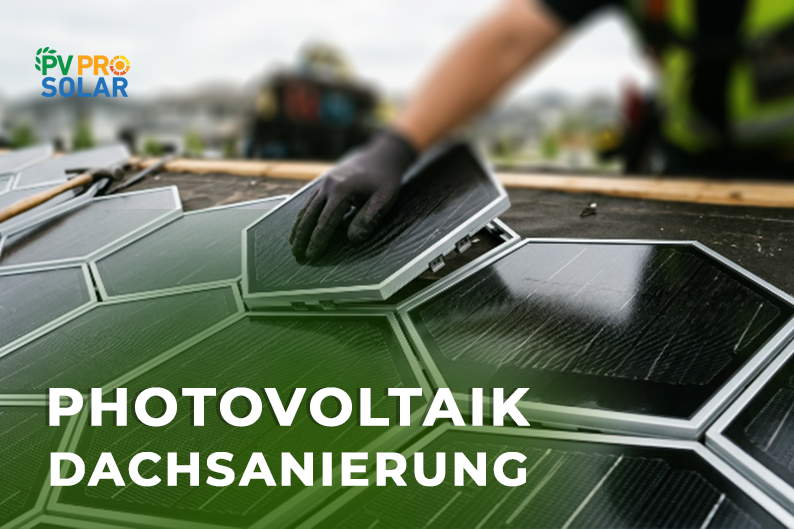
The K2 Systems substructure is fixed to suit the roof. The spacing of the fixing points depends on the roof pitch, rafter spacing and the snow and wind load zone at your location, so the system stays secure even in storms.
4. Modules
AIKO, JA Solar or Longi modules, depending on the quote, are clamped onto the mounting system. A ventilation gap is deliberately left between the modules and the roof so they don’t overheat and keep their yield.
5. DC Cabling
The modules are connected with DC cables, which are run to the inverter in weather-protected, UV-resistant cable ducts.
6. Inverter, Battery and Grid Connection
The Fronius inverter is mounted and connected to your home’s electrical system, and a BYD battery, if included in the quote, is integrated at the same time. This step usually requires a short interruption of your power supply, typically two to four hours, and we let you know in advance. Under the Solar Peak Act, new systems without a smart metering system may feed in at most 60% of their module output. We set this in the inverter.
7. Registration and Commissioning
After installation, we register your system with your grid operator and in the Market Master Data Register. At commissioning, the electrical specialist carries out a functional test: measuring the voltages of the individual module strings, checking all protective devices and verifying that the inverter delivers plausible yield data. We then set up the monitoring app so you can track your yields from day one.
Safety and Standards
The installation follows the relevant VDE standards, in particular VDE-AR-N 4105 for the grid connection, and your grid operator’s technical connection requirements (TAB). With us, the electrical installation is carried out exclusively by certified electrical specialists, not by the roof fitters alone. That’s not a formality: without this sign-off, you get neither MaStR registration nor approval from the grid operator.
What You Can Prepare Before Installation Day
- Access: clear access to the roof, the meter cabinet and the planned location for the inverter and battery, for example in the basement or utility room.
- Space for the scaffolding: room around the house; ideally move vehicles and garden furniture beforehand.
- Wi-Fi: a Wi-Fi signal at the inverter, so we can set up monitoring straight away.
- Power interruption: ideally don’t plan anything that needs electricity during the two to four hours without power.
After Installation: Meter, Monitoring and Service
So that the power you feed in is recorded, the metering point operator, usually the grid operator, replaces your meter with a bidirectional meter or a smart metering system. We trigger this with the registration. After that, a solar system needs little care, but not none at all: an occasional visual check, keeping an eye on yields in the monitoring app, and a quick check by us if anything looks unusual, even after the statutory warranty period ends.
How Long Does Installation Take?
The roof installation itself usually takes one to three days for a typical system. How long it takes overall until commissioning depends on the roof size, the grid operator’s response and delivery times. We give you a fixed installation date with the written quote.
What Installation Costs
Installation is included in the fixed price of your quote. As a guide, we calculate about €1,450–1,750 per kWp for the complete system without a battery, including installation and registration. You’ll find more under solar panel costs or, for a specific 10 kWp example with real figures, under 10 kWp photovoltaic system costs. How to recognise a reputable installation company is explained under choosing a solar installation company.
Conclusion
For us in Hanover, solar panel installation is a fixed process, not just an installation date: preparation, standards-compliant installation by certified specialists, registration and commissioning are all part of it. Request your free, no-obligation quote now, or call us on +49 511 3360603 or message us on WhatsApp at +49 176 2399 8536. More about batteries is under buying a photovoltaic system with storage.
Frequently Asked Questions About Solar Panel Installation in Hanover
How long does installation take?
The roof installation usually takes one to three days. We give you the fixed installation date with the written quote.
Which factors affect the installation effort?
System size, roof structure and the chosen technology, for example whether a battery is added. You'll find the guide price on our solar panel costs page.
Do I need building permission?
In most cases, no. However, registration with your grid operator and in the Market Master Data Register is always required. Listed buildings need approval from the heritage protection authority.
Do I need to be at home during installation?
You or someone you trust should be there for the grid connection and the introduction to the app. For the roof installation, it's enough if we have access to the roof and the meter cabinet.
Who replaces the electricity meter?
The metering point operator, usually the grid operator, replaces your meter with a bidirectional meter or a smart metering system. We trigger this with the registration.
Is it worth adding a battery at installation?
A battery increases your self-consumption considerably and can be planned in directly during installation. Details are on our page about buying a photovoltaic system with storage.
How long does a solar system last?
Modules are generally designed for a service life of 25–30 years, with manufacturer warranties that vary by module series. We tell you the exact warranty for your modules in the written quote.
PVPro Solar GmbH
In 3 Schritten zur PV-Anfrage
Bedarf klären · Daten senden · Angebot erhalten
Jetzt Anfrage sendenBedarf klären
Schritt 1
Daten senden
Schritt 2
Angebot erhalten
Schritt 3